Here are a few tips for anyone thinking about spicing up his drum parts. Some of them are for more advanced producers, while some of the others will be suitable for less advanced readers. However, this article is not for beginners. You have to know at least the basics of MIDI programming, EQ or compression.
1. Humanization and de-quantization
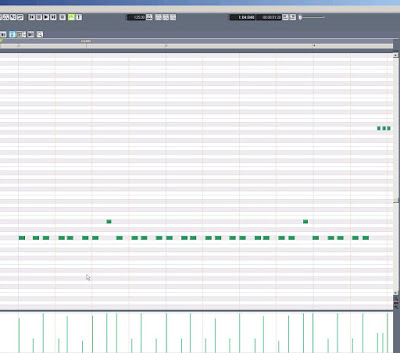
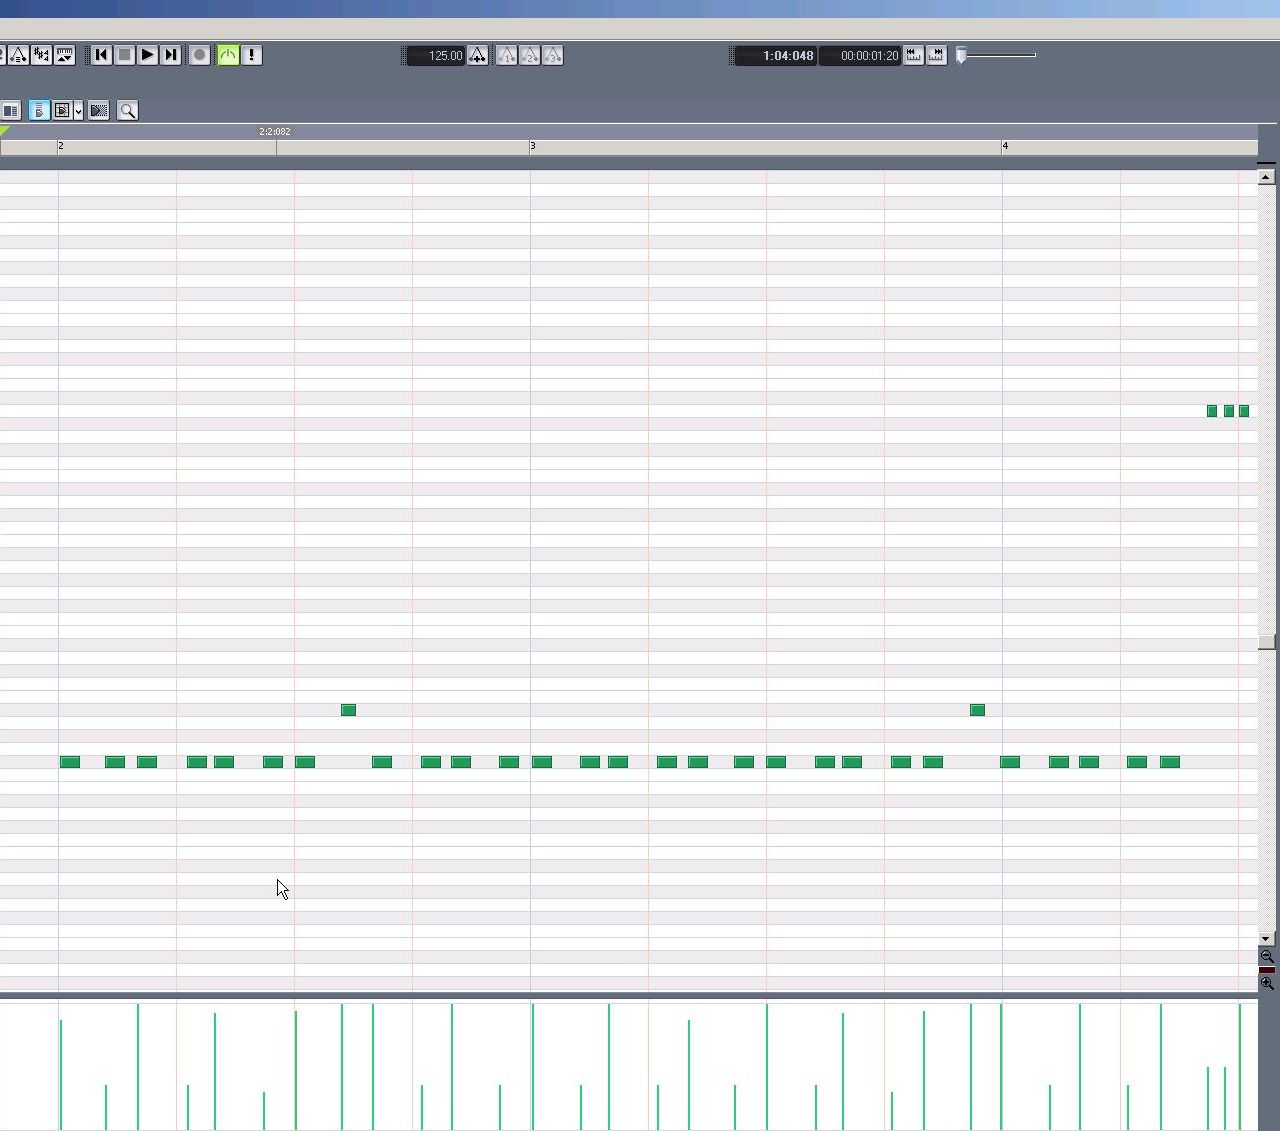
For most of us drum humanization means only two things – “dequantization” of the notes and randomizing velocity values (within a specified range of course). Usually we just take the various drum notes and slightly offset them by milliseconds. We think about it in realistic terms and our thinking goes like this: when the drummer sits down behind the drums and starts playing, does he hit each drum in perfect timing? Of course not. The liveliness is what gives the drums their flavor. And so on, and so on…
This is all true, but it’s not enough.
We can’t really make any drum track sound “real” this way. All we can get is an impression of a lumpy, raunchy drummer who has no control over what he plays. It’s actually not that bad when it comes to punk music, but imagine that you make a jazz drum beat – such cheap humanisation tricks will simply not work.
There is a sort of workaround. When you’re recording your track, consider playing your hi-hats or snares directly from your MIDI keyboard without quantizing them. You want to be very careful doing this, as you still need to be close to the correct rhythm, but sometimes having some variation gives your drums life.
But it’s still not enough…
The thing that can really change your drum programming is drawing attention to the so-called natural rhythmic tendencies of a live musician. It is worth remembering that every musician:
- naturally tends to slow the tempo down when he plays quietly,
- speeds up when playing louder,
- tends to slow down when playing more sparse rhythms,
- speeds up when playing busy grooves.
If your audio sequencer allows changing tempo within a project, I encourage you to experiment – in the softer part try to slow down the tempo from 1-2 ticks (ballads) to even 10 BPM (fast songs) and then, when the groove kicks again, back to the original tempo. If you don’t overdo it, it will result in much more natural sound than keeping exact the same tempo throughout the whole song.
2. Overheads
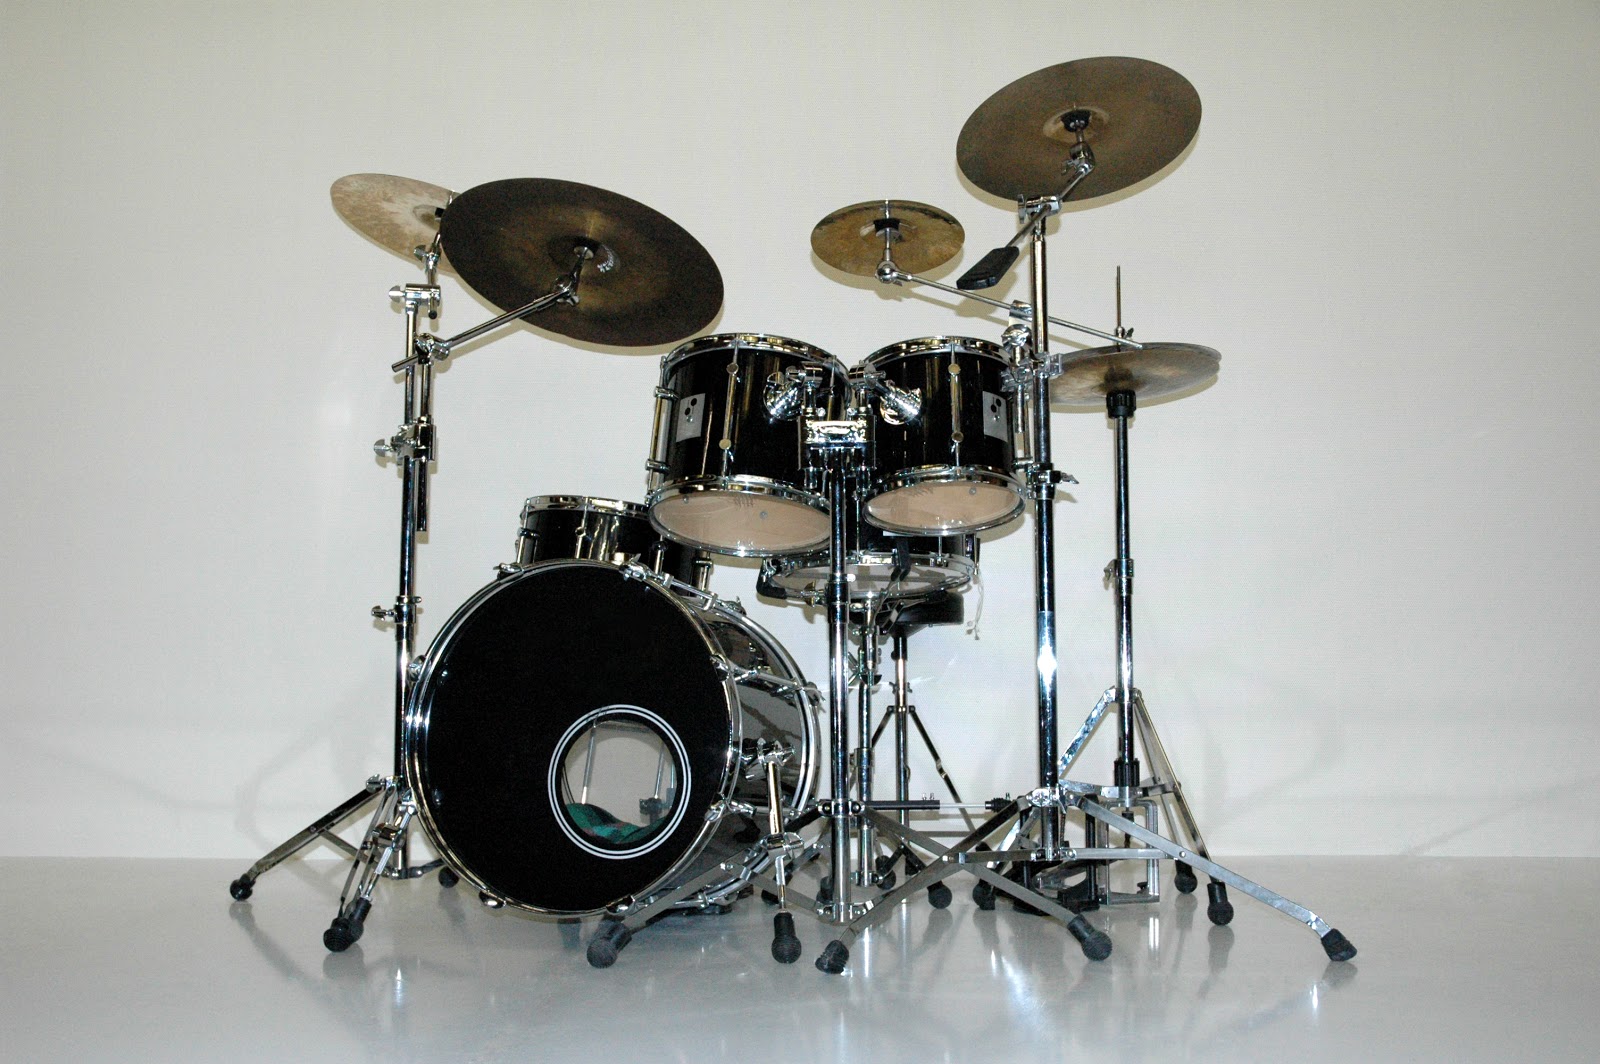
In the real world drummers often record their tracks in a special drum room where microphone feedbacks make a certain atmosphere. Our brain interprets it as a “real” sound.
Live acoustic drums sound impressive. Sound engineers have a lot of trouble isolating each instrument from the others. They use separate mikes to capture each drum, various microphone settings and placements and play around with special plexiglass walls/partitions. Full separation is not possible though and thanks to the fact, that one instrument gets into the other’s mic, your brain tells you that you listen to live drums. It’s not easy to get such an effect using samplers and programmed drums.
So, how can you emulate overhead drum mics in your DAW?
You can try to run the drums through three carefully tweaked reverbs.
I send kick, snare, hats and loops to AUX 1 bus and highpass it to get frequencies above 3 kHz only. Then I apply a drum room type reverb – this way the high frequency band sounds as it could sound recorded through overhead mic.
On AUX 2 I use high- and lowpass filters and filter out freqs below 400 Hz and above 2.5 kHz. Then I apply the same drum ambience reverb. This allows me to get the sound of the middle band typical for snare mic feedback.
On AUX 3 bas I’m dealing with bass. Again, I use LPF to remove freqs above 300 Hz. And then I apply drum ambience reverb.
[OverheadsON.mp3]
[OverheadsOFF.mp3]
In the first example there is a normal reverb applied to each track, and that’s pretty much what everybody is doing. It’s ok, but something is missing. And the second example is the same drum track with “overhead” track blended with the original signal.
Remember that you can always come back to each channel and set a different send level for every AUX.
What else one can do with the overheads track to make it more realistic? You can use tips from my previous article about creating space and depth in the mix. For example – by using various tricks that I’m writing about you’ll be able to make our “overhead mics” sound like it was a bit more distant from the listener than “close” mics.
http://www.shockwave-sound.com/Articles/G04_Depth_and_space_in_the_mix_part_2.html
You will learn from it, among other things, how the following issues help to make the instrument sound close, in-your-face or “deep” in the mix:
- pre-delay parameter in reverb,
- high frequency band,
- proximity effect (around 300 Hz),
- PEAK and RMS modes of the compressor.
What else?
Sidechain the overheads
Overhead processing
3. Tracker groove!
Trackers use a very peculiar speed system that is based on ‘ticks’ rather than BPM. The ‘tick’ is a subdivision of pattern row. The 6 speed would make each row last for 6 ticks’ worth of time, while 7 would be slower, with each row lasting 7 ticks. To make things even more messy – there are also a BPM-based settings in trackers, but let’s ignore it for now and focus only on speed here. The “F” command alters the speed of the song. By quickly doing it one will get some kind of “swing” feel. Try dry ratios as 8 and 4 or 3 and 5 for more pronounced swing.
The question is how to incorporate the tracker-made groove of into our DAW?
It’s pretty simple.
Some trackers (eg. Renoise or ModPlug) allow to use VST Instruments and effects, so you can actually produce the whole song in the tracker.
Another way is to export the MIDI file eg ModPlug Tracker. Yet another is using XM2Midi that converts the resulting file format MIDI tracker.
4. Some EQ Tips

The snare sounds best; rich and full that is, when frequencies 120-250 Hz are somewhat emphasized. Everything below this range can be EQ’ed out with high pass filter. If, however, we believe the snare sound is too powerful, we can always set the cut-off frequency above 120 Hz. Or even higher. In club music there is often a clap instead of a typical snare drum and it hits together with a kick, therefore a lighter, brighter sounds work best. A general rule is: the slower the pacing is, the deeper and longer the tail of the snare should be. Beware of 300-400 Hz range, which is responsible for so called “boxy” sound. Unlike the kick drum, the snare attack is located slightly higher, typically in 2-5 kHz range and this is where one should look for that resonant, crisp snare sound, a bit similar to branch cracking. The 5-10 kHz range is responsible for the brightness – I’d recommend the check it if the snare is overpowering the hats. Pay also attention to frequencies above 10 or 12 kHz – too much energy here results in messy sound of drums.
It’s worth noting that toms and congas are often treated similar as snares – it all depends, however, of their pitch and character. Just remember that the base sound of toms is usually located slightly lower than snares. Try to make some cuts around 300 Hz first and boost 5 kHz range. For the fullness of sound look around 100 Hz.
Hats usually don’t need the low end at all. Boosting the lower frequencies at around 150-300 Hz makes sense if you need to emphasize the sound of the drum stick. If hihats sound sharp, annoying or simply unpleasant, the easiest way to fix it is to find the problem freqs (usually located somewhere between 1-5 kHz) and simply remove it using a narrow EQ. What is a real challenge is to shape the sound of hihats in top end – it’s always a matter of taste and artistic vision. If you are aiming for a bright, airy sound you can play around with 8-12 kHz and above. Remember that this range is also extremely important for vocal tracks, though! Sometimes it’s also beneficial to play with 15-16 kHz. But do not go insane with the top end – too much 10k+ ends up with a very amateur sound.
Many pop producers start the mixing process with the drums and work on them until they get a full, dynamic sound. It’s hard to imagine a club banger without a solid rhythm base, right?
And what if, despite our best attempts, we can’t get satisfactory results? Well, perhaps we should look for another set of samples then…
5. Tuning
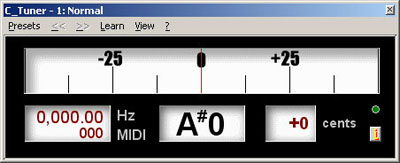 |
| Here’s C-Tuner from C-Plugs. Simple, good and free. |
Using an EQ, you bring out the frequency corresponding to a note. You can use a calculator, such as “ToneCalc” – or just do an online search for frequency / Hz / tone calculator.
This is NOT a golden rule – not all kicks or drums need tunning, only the ones that display a drone note, usually it’s longer kicks or resonant kicks that have this quality. Simple test: if you are having difficulty putting a bass line to your track because things are sounding out of tune it might be because the resonant note of your kick is clashing with the bass note. In this case tune your kick to the root key of your song, it will be low enough to not get in the way of dissonant tones
A really cool effect I learned when pitching toms is to duplicate the tom, shift it up an octave (and a 5th or 7th (if you like)) and use a pitch envelope to modulate down (usually at a 1/16 or 1/8 note interval). It gives the sense of “tightening the head” while you “strike” the tom. The more prevalent you make the effect, the more 80’s it sounds and the less prevalent, the more “real” it sounds. The prevalence factor is how much you choose to modulate the pitch of the 5th and/or 7th layer and of course how loud it is compared to the original.
Another thing worth consideration is using an autotuner. It can work well for more than just vocal work. Try it!
6. Pultec trick
In theory, yes, cut/boost would tend to cancel each other out, while in the case of the Pultec the reality is a bit different. But in a cool way.
The venerable Pultec EQP-1A Program Equalizer and it’s sibling the MEQ-5 Mid Band Equalizer when used together (Pultec Pro) provide a well-rounded EQ palette. This combination is still standard fare in recording studios and was once widely used in mastering sessions. The first Pultec (EQP-1) was first introduced in 1951. Through many iterations the basic design remained through the late 70’s/early 80’s. Every Pultec was hand made to order. The build quality and design of all the Pultec products was unparalleled.
Unique simultaneous boost and cut. Dial in dangerous amounts of boost with incredibly musical results. Smooth, sweet top end character. Artifact-Free EQ even at high boost settings. The Pultecs are known as magical tools that improve the sound of audio simply by passing signal through them; but who wants to leave it at that?
Cool trick:
In the documentation supplied with hardware version of the EQP-1A, it is recommended that both Boost and Attenuation not be applied simultaneously to the low frequencies because in theory, they would cancel each other out. In actual use however, the Boost control has slightly higher gain than the Attenuation has cut, and the frequencies they affect are slightly different. The EQ curve that results when boost and attenuation are simultaneously applied to the low shelf is difficult to describe, but very cool: Perhaps the sonic equivalent of a subtle low-midrange scoop, which can add clarity. A great trick for kick drums and bass instruments.
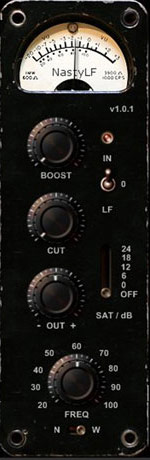
I’m using NastyLF from Bootsy, which, again, is good and free. Unfortunately it’s not developed anymore and you have to spend some time digging the Internet to find it. Try to set cut and boost frequency to 40-50 Hz – it gives a nice “oomph” to the kick drum. See the examples below.

About the author: Piotr “JazzCat” Pacyna
is a Poland based producer, who specializes in video game sound effects
and music. He has scored a number of Java games for mobile phones and, most
recently, iPhone/iPad platforms. You can license some of his tracks here.