Reverb in productions is probably for most composers the first ‘go to’ plug in and after effect, yet just as reverb can add a great professional quality and depth to your music, and can just as quickly ruin the production and make it sound ‘over produced’ and unprofessional. Reverb can often make or break a song, too much fills it with too much space and you can’t hear what it’s all about and too little just kills the emotion of it. So you have to take particular care in your appliance of reverb, and also be open to a lot of experimentation. In this article, we are going to look at some great tips for when using reverb and also take a look at some great reverb plug ins.
What is reverb?
Reverb, short for reverberation is the persistence of sound in a particular space after the original sound is removed. Unlike a delay, the original sound is not replicated, rather it is created when the sound is echoed in a confined space and the reflections are absorbed by the walls and air. In real terms, this is defined by the sounds being produced bouncing of nearby objects and refracting to cause the reverb. This is why in plug ins, there are many factory settings that allow the recreation of certain situations and places such as a church, or a cave or a small room. So in effect, a reverb used in productions is essentially a room simulator. What this does when added in a skilful way is enhance your production and give a more real sound to your music. There are quite a few different types of reverb. You can call them reverb modes, or room types. Some of the more common types include; Room, Hall, Chamber, Spring, Plate, and Convolution. In our age, we have access to digital reverb simulators which can simulate, quite realistically, all of these programmed room or reverb modes. Compositions that sound flat and one dimensional can often be lifted and given more depth just by the use of reverb. We are now going to look into differing types of reverb and how you can use these to enhance your production music.
Adding reverb: Tips and Tricks
Adding reverb properly takes a delicate touch and caution must be used not to get too carried away when using it.
Know your instruments: Reverb when applied to certain instruments can have a great effect, however when applied to others, can ruin the sound. Some instruments sound better with little or no reverb. For instance, I always think it best to use a short room ambience to dry electric signals such as synths and guitars. This to an effect can simulate the effect or recording a room. Usually, bass and reverb don’t mix too well, unless you’re specifically after a warehouse sound. Unfortunately, this effect results in a loss of definition among the bass regions. Run your reverb returns into a couple of spare channels in your mixer and back off the bass EQ, or add a high-pass plug-in EQ.
What kind of track: Obviously the overall kind of track you are going for will indeed play a part in what kind of reverb you are going to use. Ambient music is a popular format for composers of production music. Often in this type of production, composers like to make the piece of music sound ‘bigger’ and more ethereal. Using a large reverb with a long tail can be a very effective way of creating this effect. It can be particularly effective when used on the drums in a way similar to that of Sigur Ros. This leads onto another point about getting the balance and level right. An often asked question when referring to reverb is ‘how much?’ A simple answer to this would be to turn it up till you hear it and then turn it down again. This method however, only works if the decay time is right in the first place. If for instance the decay time is too short in the first place, then simply turning it up won’t help. The length of the reverb and its amount needs to be balanced against each other and needs to vary for each element of the mix. A nice simple way around this is to run 2 reverbs over separate buses both with varying decays. You can then adjust the amount you want to add for each one.
Reverse: Continuing on the electronic music theme, a classic technique used with reverb is the reverse reverb technique. This is employed particularly regularly in trance music, often in vocals where it sounds like the main vocal is ‘coming in’ when beginning a phrase. Trance music and vocals is not the only use for reverse reverb and it can work equally well on pads or a string section. To create the reverse reverb effect, reverse your sample, add reverb, then reverse your sample complete with reverb back around the right way again. This way, the reverb trail leads up into the sample, instead of trailing away from it. If you want to get really creative with your reverse reverb, follow these instructions: Have the reverb trail panned left on a separate track, then the original sample centre-stage (i.e. mono), followed by a regular reverb trail on another track panned right. The result is a reverb that leads up into the sample and trails away afterwards, while panning across the stage, left to right.
Less is sometimes more: Don’t use any reverb. Sometimes in a mix, there may be no need for reverb. If for instance you are recording instruments live and already have a great room with great acoustics then it may not be necessary to add reverb to that element of the track. Simply add a couple of extra mics to the recording and try to capture the natural reverb. Similarly, some things just sound better dry. Vocals are a good example of an element of the mix that can often work better with a delay rather than a reverb.
In summary, it’s important to recognize the power of reverb and its ability to make or break a mix. Next time you are mixing a track or adding an effect, maybe don’t just go for the factory preset on your favourite plug in and spend some time trying different things and experimenting with the amount, attack and decay time and types of reverb. You may just surprise yourself. We are now going to look at a couple of the leading software reverb plug ins.
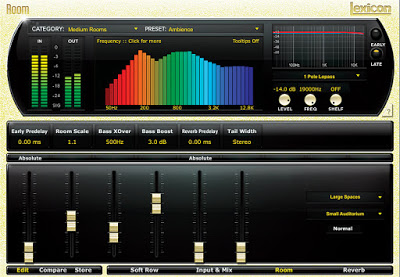
Lexicon PCM Native Reverb
Lexicon hardware units take pride of place in many pro studios, and over the company’s 39-year history it’s become the gold standard in digital reverberation.
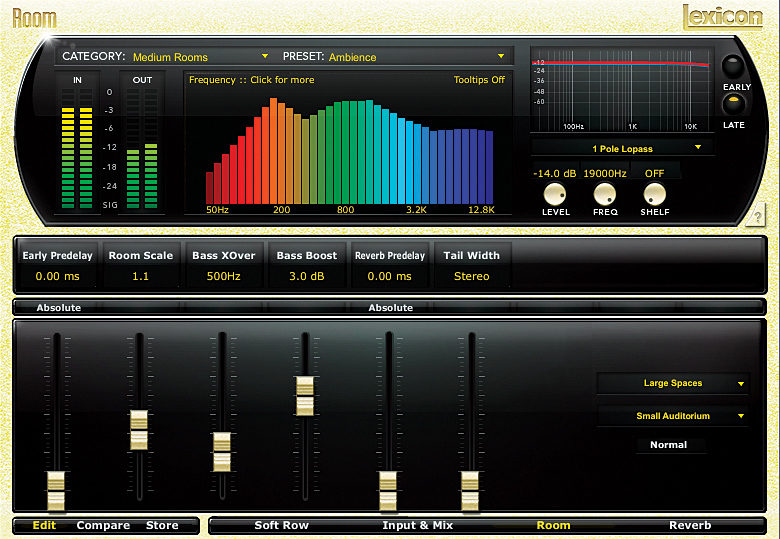
The PCM Bundle utilises the algorithms and presets from the Lexicon PCM96 hardware reverb. Buying one of these units will set you back over $2000, so thinking logically, the PCM Bundle offers better value for money at around half that. The reverb plug in comes as part of a bundle of plug ins.
The PCM Bundle plug-ins are easy to get a handle on, taking a direct and professional approach to the controls, with functionality being the key.
From times gone by, plug in reverbs used to be very poor conversions from their hardware counterparts, however recently vast improvements have been made and the PCM bundles and no exception to this rule. In fact, they are a superb conversion and fully justify their price tag. Admittedly this is right at the high end of plug ins, however what you are paying for with the PCM Bundle is the fact that it’s unarguably the ‘real thing’ rather than merely an attempt at a Lexicon-style reverb – it goes without saying, then, that it sounds incredible.
Logic Space Designer
Space designer is a high end reverb now shipping with Apples Logic sequencer software. Personally this is my plug in of choice and it has excellent presets available to get you started and begin tweaking from.
The principle behind the convolution process – the key to achieving the most realistic reverbs – is that an impulse response is captured by recording the total reflections that occur after an initial signal spike in a given acoustic space, be it cathedral or cave. This recording can then be merged with your song’s audio files, so effectively the audio sounds like it was actually recorded within the selected space.
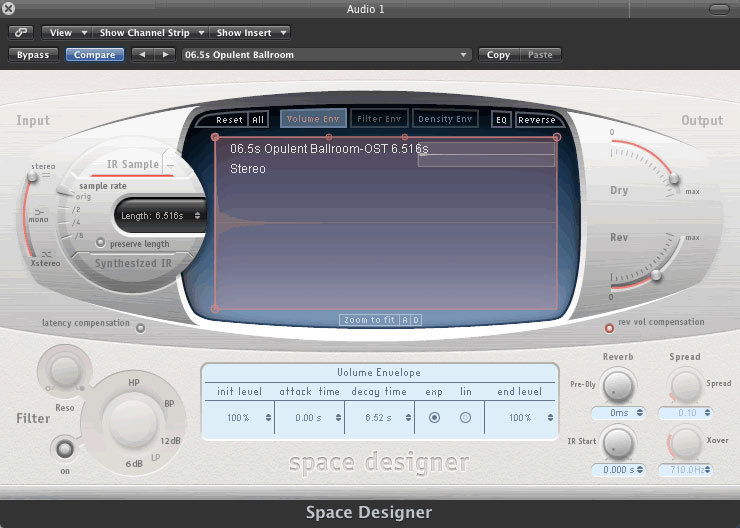
Space Designer comes with 1000 professional-quality impulse responses (IRs), covering all manner of indoor and outdoor spaces (everything from bathrooms and large halls to pine forests), as well as hundreds of responses from legendary hardware reverb and delay units that would otherwise cost thousands of pounds.
Criticisms are that the plug in can only be used with Logic and that it can be a drain of CPU resources. However in my experience this is a small sacrifice to make for such an excellent plug in.
Whatever plug in you choose, be sure to experiment all the time and don’t just settle for the first preset you come across. You may just surprise yourself.
 About the author: John is the founder and primary writer for 1underproductions. John studied music technology at Rose Bruford College (London). After graduating, John persued the traditional route, making tea at Ascent Media and then Grand Central Recording studios. Once his tea-making skills were honed, John went to work for the Boiler House boys in Chelsea. There he worked with several artists, including Shazney Lewis, Harmar Superstar and Joss Stone. John also worked on films including the Calcium Kid (Orlando Bloom) and Trauma (Colin Firth). Since leaving the Boiler House, John set up 1underproductions. John is able to compose in many different styles and can write to specific briefs.


